
TL;DR:
- A structured handyman repair workflow saves money, time, and protects property value by ensuring accountability. It involves clear communication, prioritized triage, proper documentation, and consistent follow-up, supported by suitable technology and roles. Implementing these practices reduces delays, disputes, and long-term costs while increasing tenant satisfaction and asset preservation.
A disorganized handyman repair workflow costs you more than time. It costs you money, tenant goodwill, and long-term property value. Most homeowners and property investors know this firsthand: a repair request slips through a text thread, the wrong contractor shows up, the job gets half-finished, and now you have a bigger problem than you started with. This guide walks you through a structured, step-by-step handyman repair workflow that eliminates the guesswork, reduces delays, and helps you manage every job from first call to final invoice with confidence.
Table of Contents
- Key takeaways
- What you need for an efficient handyman repair workflow
- From issue to assignment: the repair request workflow
- Executing handyman jobs the right way
- Closing the loop: verification and improvement
- My take on why workflows beat raw speed
- Get expert handyman support from Urbanedgeaz
- FAQ
Key takeaways
| Point | Details |
|---|---|
| Use a single intake channel | One request channel prevents lost jobs and removes the confusion of managing repairs across texts, calls, and emails. |
| Triage by urgency and impact | A two-axis prioritization method cuts resource misallocation by 60% in multi-property operations. |
| Document everything with photos | Before-and-after photos are the most reliable protection against billing disputes and liability claims. |
| Follow up after every job | Logging completed repairs and tracking repeat issues helps you catch larger problems before they become expensive ones. |
| Adopt technology early | Software that handles booking, dispatch, and invoicing can close a job in roughly 90 minutes from first call to paid invoice. |
What you need for an efficient handyman repair workflow
Before you can run a tight home repair workflow, you need the right pieces in place. Jumping straight into job assignments without a solid foundation is exactly what leads to delays, missed communication, and duplicate work orders.
Tools and software
You do not need an enterprise platform to manage repairs well. A dedicated repair tracking app, a shared calendar, and a reliable messaging tool are enough to get started. Look for software that handles job intake, scheduling, and invoicing in one place. Mobile-first dispatch platforms that include real-time tracking, parts cost capture with receipts, and automated follow-up reviews drive the most operational efficiency. If you manage multiple properties, a cloud-based system lets every stakeholder see job status without asking.
Documentation practices
Good documentation is not optional. It is the backbone of any accountable repair process. You need before-and-after photos for every job, a simple repair log that captures dates, costs, and outcomes, and written notes on any scope changes approved during the work. Single-channel intake with photo documentation is the combination that eliminates the most billing disputes and liability claims.
Pro Tip: Set up a shared cloud folder organized by property address. Every job gets its own subfolder with intake notes, photos, and the final invoice. Retrieval takes seconds, not hours.
Roles and responsibilities
| Role | Primary responsibility |
|---|---|
| Homeowner or property manager | Submits repair requests, approves scope and costs, reviews completion |
| Handyman or contractor | Executes the repair, documents work, flags scope changes in real time |
| Tenant (if applicable) | Reports issues promptly, provides access, confirms job completion |
Clear ownership matters. When everyone knows their role before a job starts, you avoid the classic scenario where a repair stalls because no one is sure who approved the extra $200 in materials. For more on what to look for when building your contractor roster, the handyman services checklist from Urbanedgeaz covers this in detail.
From issue to assignment: the repair request workflow
This is where most home repair processes break down. A request comes in through three different channels simultaneously, no one logs it formally, and the job sits unassigned for two days. Here is a clean, repeatable process that prevents exactly that.
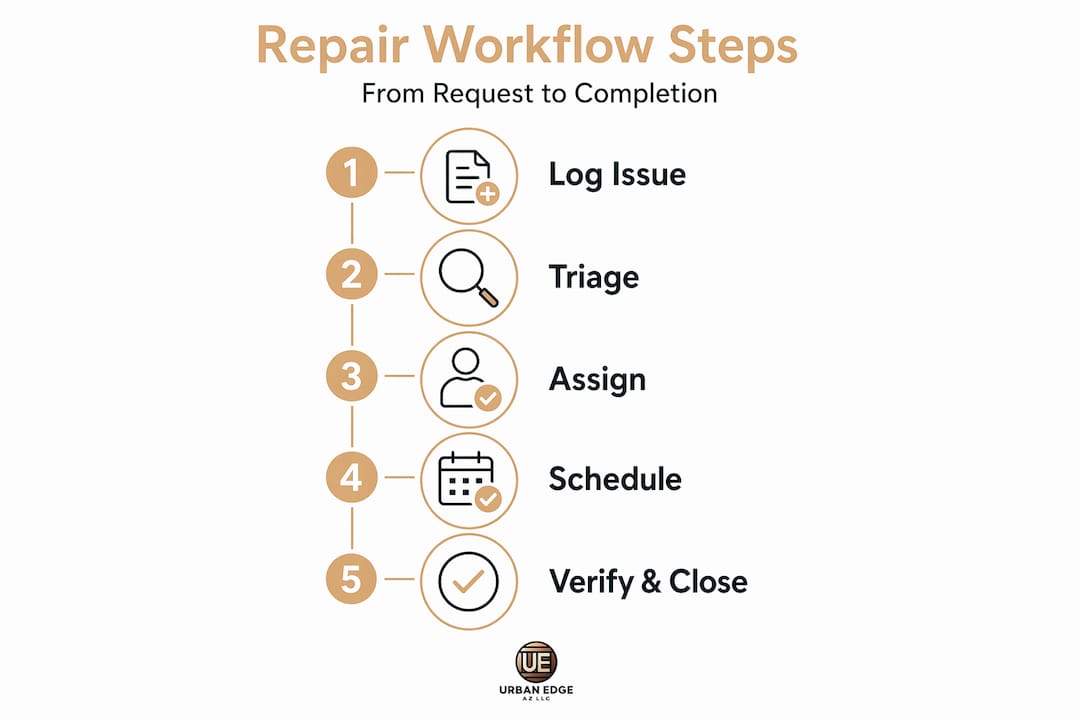
Step 1: Report and log the issue
Every repair request should include four pieces of information: the exact location, a clear description of the problem, at least one photo, and the date reported. This is non-negotiable. Manual repair workflows can involve 14 distinct steps and 6 handoff points, and each handoff without documentation is a point where the job can disappear.
Train tenants and property contacts to submit requests through one channel only. A dedicated email address, a tenant portal, or a text line all work. What does not work is accepting requests through personal texts, Facebook messages, hallway conversations, and voicemails simultaneously.
Step 2: Triage and prioritize
Not every repair deserves the same response time. Maintenance requests fall into four tiers with specific expected response windows:
- Emergency: Immediate response required. Active water leak, no heat in winter, electrical hazard, or any condition that threatens safety or structural integrity.
- Urgent: Response within 24 to 48 hours. Broken appliances, non-functioning HVAC in mild weather, damaged locks or security issues.
- Routine: Response within 3 to 7 days. Minor plumbing drips, cosmetic wall damage, cabinet hardware, door adjustments.
- Scheduled: Planned maintenance items. Seasonal HVAC servicing, gutter cleaning, exterior painting, preventive inspections.
The critical mistake most property owners make is conflating urgency with impact. A noisy faucet feels urgent to a tenant, but it has low structural impact. A slow foundation crack might not feel urgent yet, but its impact is severe. Separating urgency from impact using a two-axis matrix cuts resource misallocation by 60% in multi-property portfolios. That means fewer firefighting moments and smarter deployment of your maintenance budget.
Step 3: Assign the right person
Once a job is triaged, match it to the right contractor based on skill set, availability, and geographic proximity. A licensed plumber for a water heater replacement. A general handyman for a screen door repair. Sending the wrong person wastes everyone's time and usually means a second visit.
Pro Tip: Build a short roster of trusted contractors organized by trade category. Keep notes on each person's typical availability, pricing range, and work quality. This turns a 4-hour assignment process into a 10-minute decision.
To learn more about vetting reliable contractors in Arizona, Urbanedgeaz has a step-by-step guide worth reading before you expand your contractor list.
Step 4: Schedule and confirm
Send a confirmation to both the contractor and the tenant or homeowner with the scheduled date, approximate arrival window, and a brief description of the work. Automated dispatch systems reduce vendor assignment time from an average of 4 hours to under 15 minutes, and automated reminders cut no-shows significantly.

Here is a realistic example of what your response timeline should look like:
| Tier | Target assignment time | Target first visit |
|---|---|---|
| Emergency | Under 1 hour | Same day |
| Urgent | Under 4 hours | Within 24 hours |
| Routine | Within 24 hours | Within 5 business days |
| Scheduled | Within 48 hours | Per planned schedule |
Executing handyman jobs the right way
Getting the job assigned is only half the battle. The execution phase is where professionalism either shows up or falls apart.
Pre-work walkthrough
Before touching anything, the handyman should do a quick walkthrough with the homeowner or tenant to confirm the scope. This takes five minutes and prevents two hours of debate after the job is done. Walk through what is being repaired, what materials will be used, and what is specifically not included in today's visit.
Pre-approval thresholds matter here. Setting a spending limit of $300 to $500 per job allows the contractor to handle minor material additions without stopping work to seek authorization, which keeps jobs moving without opening the door to unchecked spending.
Handling scope changes in real time
Discoveries happen. The contractor opens a wall to fix a pipe and finds mold. The tile replacement reveals subfloor rot. When this happens, the right move is to stop, document with photos immediately, and contact the property manager or owner before proceeding. Proceeding without approval is the single fastest way to destroy a client relationship and create a billing dispute.
Skipping proper scope confirmation or failing to communicate discovered issues leads directly to costly delays and customer disputes. A 10-minute phone call to confirm an expanded scope saves days of argument.
Documentation and completion
When the job wraps, the handyman should provide:
- Before-and-after photos of the repaired area
- A written summary of work completed
- A clear cost breakdown showing labor and materials separately
- Payment terms and any warranty information
Average handyman hourly rates run between $50 and $150, with a national average between $65 and $125. If your invoice reflects the high end of that range, your documentation needs to justify it. Detailed photos and a clear work summary make that easy.
Pro Tip: While on site for a scheduled job, have the contractor do a quick 5-minute visual scan of the surrounding area. Catching a loose outlet cover or a dripping under-sink connection during a routine visit costs almost nothing. Missing it costs a future service call.
Avoiding unapproved scope creep and maintaining thorough documentation are the two practices that separate one-time clients from long-term ones. For a broader look at avoiding costly errors in this process, the article on contractor red flags from Urbanedgeaz is a useful reference.
Closing the loop: verification and improvement
Finishing the job is not the same as closing the workflow. The last phase of any solid home repair process is the one most homeowners skip, and it is the one that saves the most money long-term.
Confirming satisfaction
Within 24 to 48 hours of job completion, reach out to the tenant or homeowner directly. A short text or email asking two questions is enough: "Was the repair completed to your satisfaction?" and "Is there anything that still needs attention?" This one step catches incomplete work before it becomes a complaint and signals to clients that you take quality seriously.
Communication throughout the repair process builds client loyalty more reliably than any discount or promotional offer. Tenants who feel heard and informed are far less likely to escalate issues or withhold maintenance access.
Logging and analyzing repair data
Every completed job should be logged with date, cost, location, trade category, and outcome. Over time, this data tells you things your intuition cannot. A water heater repaired four times in 18 months is screaming for replacement. A property with 12 plumbing calls in a year likely has an aging pipe system that warrants inspection.
Tracking repeat issues and escalating recurring problems for permanent solutions both improves client satisfaction and reduces future ticket volume. This is the part of repair project management that actually protects your asset value.
Age-based escalation
One of the most underused tactics in property maintenance is assigning an age to open repair tickets and triggering automatic escalation when a ticket reaches a certain threshold. A routine repair that sits unscheduled for 10 days becomes an urgent one. Age tracking with automatic escalation prevents backlog growth, reduces surprise emergencies, and keeps turnaround times honest.
Pro Tip: Review your repair log quarterly. Look for any address or system that appears more than twice. That pattern almost always signals a larger underlying issue that a small preventive investment will fix far more cheaply than repeated reactive repairs.
Here is a useful benchmark table to guide your follow-up and escalation timing:
| Repair tier | Follow-up timing | Escalation threshold |
|---|---|---|
| Emergency | Same day as completion | Immediate if unsatisfied |
| Urgent | Within 24 hours | 48 hours without resolution |
| Routine | Within 48 to 72 hours | 10 days without scheduling |
| Scheduled | At next maintenance review | Missed two consecutive cycles |
My take on why workflows beat raw speed
I have seen property owners obsess over response time while completely ignoring the system behind it. They hire fast contractors but have no intake process, no documentation standard, and no follow-up habit. The result is a flurry of activity that still ends in missed repairs, surprise costs, and frustrated tenants.
The biggest shift in my thinking came when I stopped treating urgency and emergency as synonyms. A tenant calling about a broken garbage disposal is urgent to them, but it is not an emergency. A slow gas smell is an emergency, even if the tenant is not particularly alarmed. The moment you clearly separate those two categories and build your triage process around them, your whole workflow gets sharper and cheaper to operate.
What I have found actually works is consistency over cleverness. A simple intake form, one communication channel, a photo requirement, and a standard follow-up message will outperform any fancy scheduling software that nobody fills out correctly. Start with the basics. Get disciplined about following every step on every job, not just the big ones. Minor repairs handled sloppily are where liability and reputation damage quietly build up.
Technology absolutely amplifies a good workflow. But it cannot replace one. The teams and property owners I respect most are the ones who could run their entire repair process on paper if they had to, and only use software to do it faster. If you are a property investor managing multiple homes in the West Valley, the ROI on a structured repair workflow is not theoretical. It shows up in lower repair costs, higher tenant retention, and properties that hold their value.
— Tucker
Get expert handyman support from Urbanedgeaz

If building and managing a repair workflow from scratch feels like one more thing on an already long list, Urbanedgeaz is built to handle exactly that. As a licensed general contracting firm serving Buckeye, Goodyear, and Phoenix, Urbanedgeaz brings structured project management, skilled handymen, and transparent pricing to every job. Their team handles everything from single repair visits to full remodel coordination, with documentation and communication standards built into every service.
You can book a phone consultation to discuss your property's maintenance needs, or go straight to scheduling an onsite visit for an in-person assessment. Homeowners and investors who want repairs done right the first time, with professional accountability at every step, will find Urbanedgeaz a natural fit for their portfolio.
FAQ
What is a handyman repair workflow?
A handyman repair workflow is a structured, repeatable process that takes a repair request from initial reporting through triage, assignment, execution, and follow-up. It prevents jobs from being lost, mishandled, or delayed by making each step clear and accountable.
How do you prioritize handyman repair requests?
Use a two-axis matrix that scores repairs by urgency and by impact separately. Emergencies need immediate response, urgent repairs within 24 to 48 hours, routine fixes within 3 to 7 days, and scheduled maintenance on a planned cycle.
Why does documentation matter in the repair process?
Before-and-after photos and written job summaries protect you from billing disputes and liability claims. They also create a repair history that helps you identify recurring problems before they become expensive structural issues.
How long should a complete handyman repair workflow take?
With efficient software handling booking, dispatch, invoicing, and payment, a straightforward repair job can move from initial call to closed invoice in roughly 90 minutes. Complex jobs take longer, but each stage should still have a defined time target.
When should you escalate a repair ticket?
A routine repair that goes unscheduled for more than 10 days should be escalated to urgent status. Using age-based tracking with automatic escalation thresholds prevents backlog growth and reduces the chance that small problems turn into emergencies.